|
JANUARY 2012 - OCCUPANCY!!! Click on (most) images for a larger view. |
|||
 |
"Do what makes you happiest. Look upon what gives you joy. Speak to those who warm your heart. Listen to that which lifts your spirit. Surround yourself with sights and sounds and people who give you pleasure. For all the happiness you give to others all year long, give yourself the perfect day." ~Unknown |
||
|
A quote from one of our favourite movies; check out the
Life As A House
trailer: |
|||
 |
 |
 |
 |
| The dawn of a new year... | vibrant beauty on the shore... | art in nature... | and always, hearts to be found! |
|
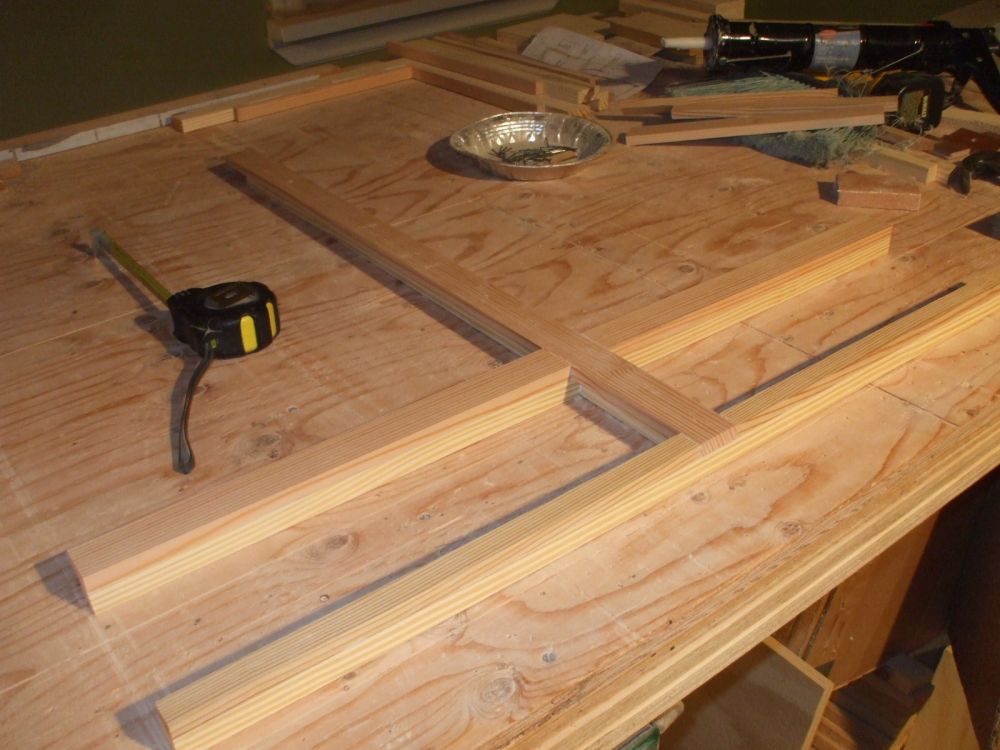
Building cabinets is a whole new art form for us. Now that it's time to
build our first base cabinets in the kitchen, |
|||
 |
 |
 |
 |
|
We are using 3/4" pine plywood for the cabinet sides and bottoms, with 1/2" paper-face painted white for the back. |
|||
 |
 |
 |
 |
|
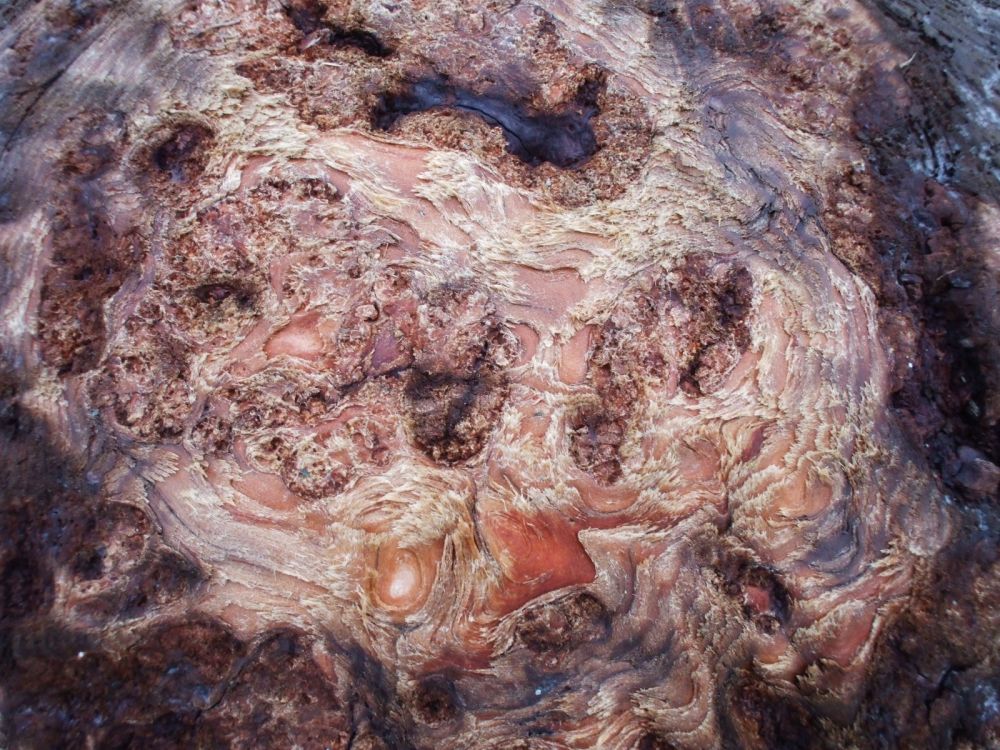
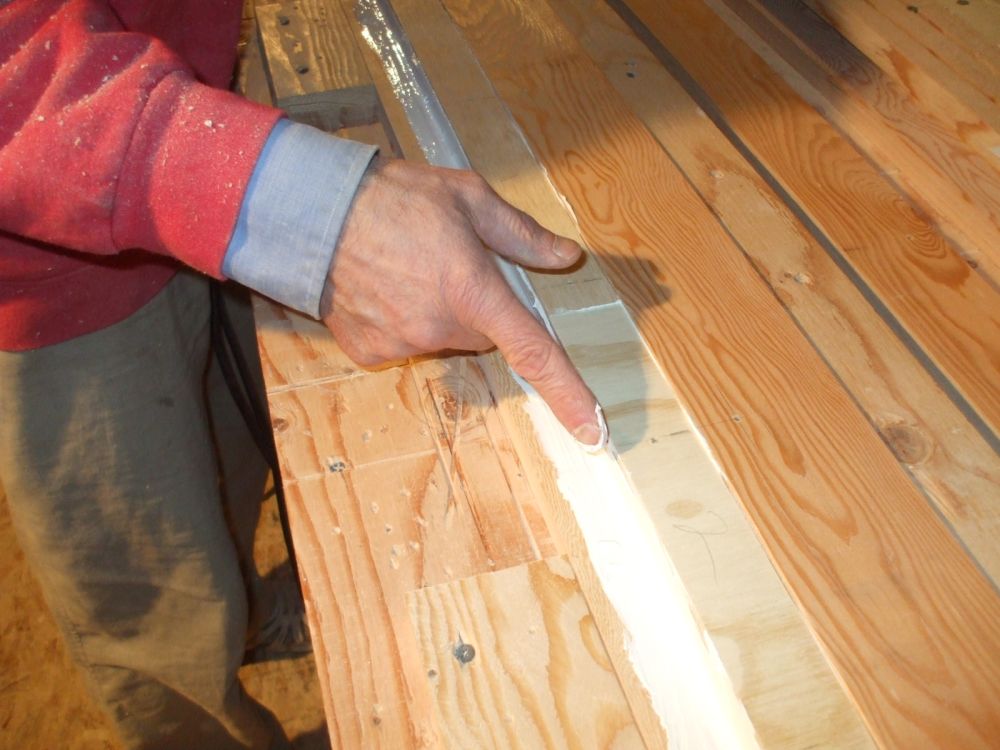
The amazing nature of Douglas Fir (DF) shines through again
and again. Every once in a while we come across a piece |
|||
 |
 |
 |
 |
| Our water based construction adhesive is a fantastic, it is a strong and forgiving bonding agent that allows us to clean the joints after gluing. | |||
 |
 |
 |
 |
| A minimum of fasteners is required | custom pieces are preassembled and presented |
corner cabinets require more complex clamping | Sometimes its easier to go to the mountain! |
 |
 |
 |
 |
| Taking a free moment to read dishwasher instructions | final check of dimensions | after careful measuring, this is where the drain hose enters the cabinet | and this is the plumbing access hole. |
 |
 |
 |
 |
| In the meantime we started gluing the drawer fronts fro the upstairs vanity. | oopsy... | ||
 |
 |
 |
 |
| a little trim required... | now its perfect. | Dry-fit the cabinets together to make sure everything lines up | |
 |
 |
 |
 |
| special drawer accommodates sink plumbing | |||
 |
 |
 |
 |
| the other drawer is standard | painting the paper-face plywood | finishing the insides | and the drawer fronts |
 |
 |
 |
 |
| end wall is made of project pine with DF framing. |
DF receives Broda stain | insides receive final coats of water borne varnish | connecting cabinets with furniture bolts |
 |
 |
 |
 |
| Cabinets are fastened to wall blocks | starting to look like a kitchen | checking level and true | fitting the end wall to dishwasher |
 |
 |
 |
 |
| final sanding of end wall before finishing |
fitting the paper face support
strip. here in the corner we covered the whole cabinet for strength. |
dado joint for splicing counter top plywood. |
|
 |
 |
 |
 |
| routering and staining finger grooves on drawer fronts | clamping the DF trim at stove edge | ||
 |
 |
 |
 |
| mounting the end wall with brackets to the wall and big stretch type caulking to the floor to avoid puncturing the StoneCraft with screws | |||
 |
 |
 |
 |
| wet sock magic | custom fitting the counter top for trimming and an extension | ||
 |
 |
 |
 |
| using a jig block and plywood fence we routered the dado joint for the counter extension | |||
 |
 |
 |
 |
| gluing the dado joint required
some clamp extension while positioning the end wall required a clamp
spacer block. The top of the dishwasher cavity is made of paperfaced plywood with three coats of gloss paint |
|||
 |
 |
 |
 |
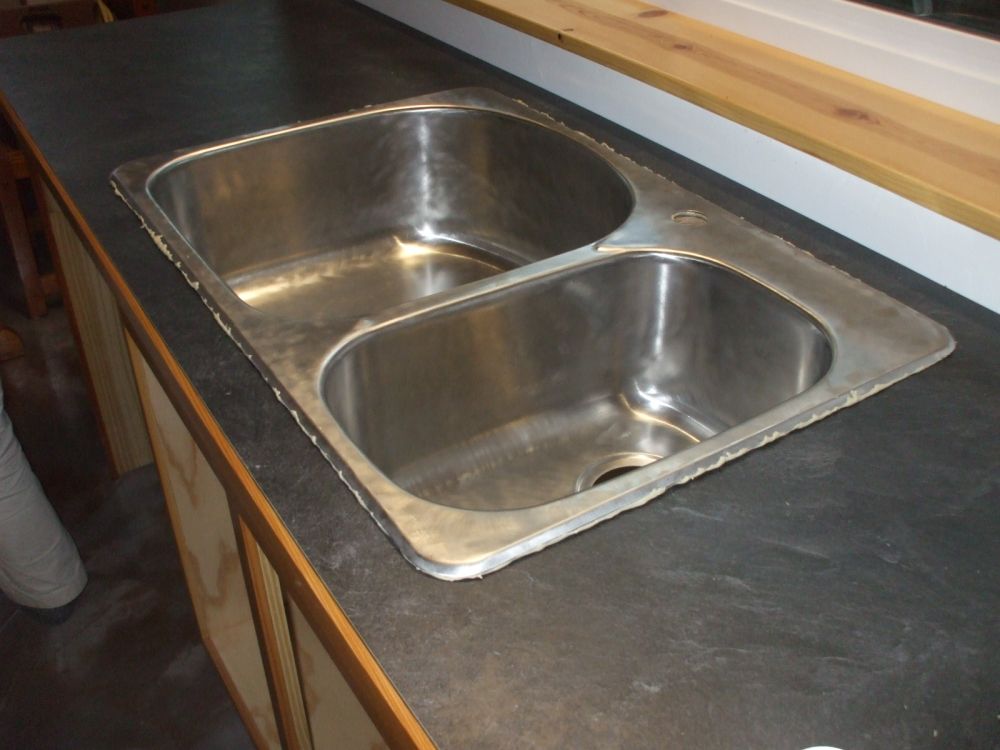
| next we dry fitted and then
glued the douglas fir trim on the plywood counter. While that was drying
we positioned the sink and made sure the support layer was cut close to the sink but not so close as to prevent the bolts from dropping in. |
|||
 |
 |
 |
 |
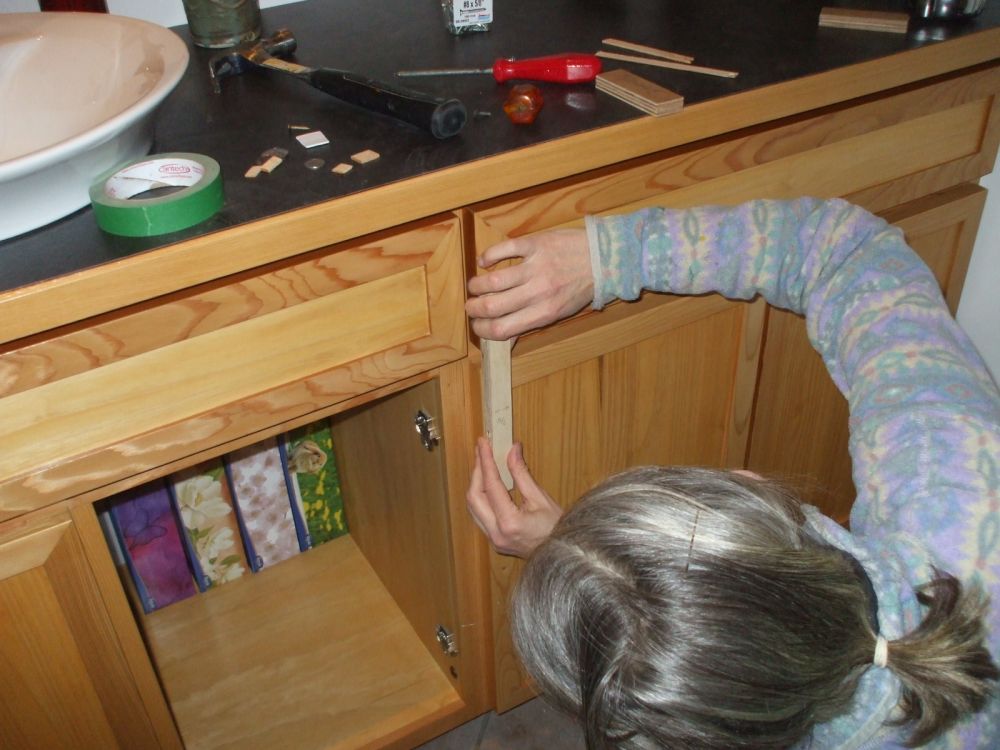
| mounting the drawer fronts on vanity drawers required careful measuring and one screw in center to allow fine adjustments | |||
 |
 |
 |
 |
| once the positions were confirmed the doors were snapped back into place and the rest of the screws installed in the drawer fronts | |||
 |
 |
 |
 |
| with the glue dry and hard we could sand the counter surface and meld it into the trim providing a contiguous plane for the Formica. | |||
 |
 |
 |
 |
| hand sanding and buffing the underside of trim | final check of cutout dimensions to insure a good fit for the sink | ||
 |
 |
 |
 |
| positioning and modifying the template | before taking the jigsaw to our precious counter top | ||
 |
 |
 |
 |
| looks right... | a three way clamp allows for a
straight and true fence to cut Formica with a skill saw |
restoring a used faucet to 'like new' state |
|
 |
 |
 |
 |
| special trick to splice Formica | water based contact cement works great and is so much easier to use | guests are coming | |
 |
 |
 |
 |
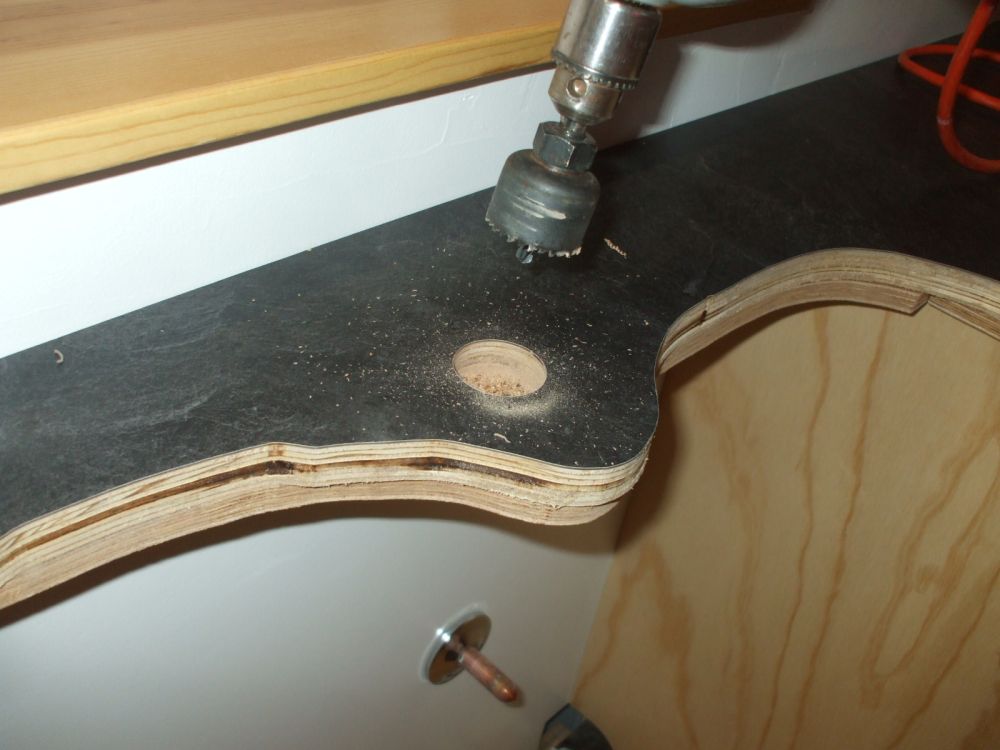
| trimming the edges and cutting out the sink and faucet holes | |||
 |
 |
 |
As we invest more and more time in a piece it becomes more and more nerve-wracking to work on it. The final step on the counter is to bevel the edge of the Formica and trim before sanding and staining. Still our beating heart. |
 |
 |
 |
 |
| once the counter is put in place we fasten it with screws from below and marvel at the beauty of a custom fit. | |||
 |
 |
 |
 |
| the counter trim overhangs the paperface support strip | faucet hole is cut through paperface support strip | plumbers putty works best to seal around the sink - | |
 |
 |
 |
 |
| putty pushes out as clamps are slowly tightened | excess peals off easy and leaves a clean look | ||
 |
 |
 |
 |
| new meets used - the refurbished sink and faucet gets a new deep basket strainer for the little sink and of course new hoses and sharkbite valves | |||
 |
 |
 |
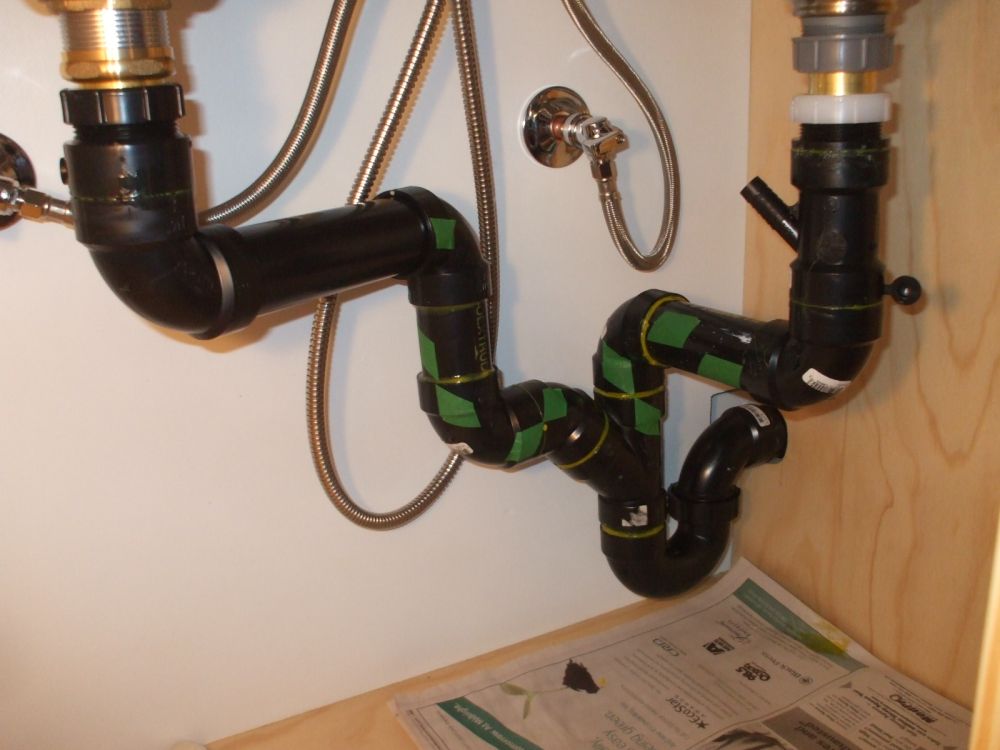 |
| drain assembly is designed to maximize under sink cabinet space while making it easy to remove as a unit in case something gets plugged | |||
 |
 |
 |
 |
| Now that our critical list is complete, we keep ourselves busy mocking-up and designing a door jam and trim while waiting for our Inspector. | |||
 |
 |
 |
 |
| Creating trim out of framing
lumber requires a bit of thought and a lot of sorting of materials |
A milestone, we get OCCUPANCY!!! January 25th! | ||
 |
 |
 |
A new design challenge: 'how to build a door jam without the benefit of a threshold'... We wanted the jamb to fit snug to the StoneCraft floor on both sides, so getting familiar with the slight variations in the floor was crucial. |
| Some pieces needed extra attention to make them conform to the textured floor. | |||
 |
 |
 |
 |
| The assembly of jam sides starts
with the visible stop clamped face down with spacers to support the next
layer of three pieces: two DF vertical grain pcs milled from framing lumber and a plywood spine laminated in the center for stiffness and warp protection... |
|||
 |
 |
 |
 |
| more magic glue... | visible stop made of DF... | while glue is drying we start on the front door trim... | |
 |
 |
 |
 |
| joining the three jamb assemblies into a complete door frame... | finishing the door while waiting for glue to harden... | ||
 |
 |
 |
 |
| making a router jig... | clamping jig to door... | to cut door for hinges... | staining trim for front door... |
|
January was a full month; productive and successful. Getting occupancy was a real thrill! And with the kitchen starting to take shape the house feels more and more like a home. The magic continues to unfold and as we finish the month, the "library door" is starting to take shape! Stay tuned and you will see more love poured into this project.... |
|||
|
|
|||
|
Return to building "The Biggest Little House in Sidney" |
© 2012 Copyright |
||
