|
|
||
|
|
||
| It's February 2008 We are back to work on the house project! Monday morning, first thing, "Welcome back to our house project. I hope you had a great winter vacation! Would you like to share what you did? We have an exciting year ahead of us....", I exclaimed in a loud, booming voice (like a teacher on first day of school) to Thomas as we sat down in our planning office with an agenda of what to work on the first day. We laughed!. |
||

|
Click on (most) images for a larger view. |
|||
|
February 1st - 13th |
|||
|
February 17th After spending two weeks preparing our detailed framing plans, we took a couple of days off to go to the cottage. Sailing back yesterday, we already started talking about all the things we wanted to get ready before our lumber arrives on Monday. We were a little nervous when we placed the order before we left. |
 |
||
|
|
|||
  |
Today we awoke to a hissing sound coming from under the old house. A quick inspection revealed that one of the elbows we installed last month had attracted the attention of a rodent who managed to gnaw away at it until it sprung a leak. We turned off the water at our master shutoff at the meter and while we waited for the lumber yard to open we started to replant a dozen bushes and trees Laura had to evacuate from our berm during the winter break. This took longer than expected, so it wasn't until around noon that we walked the mud off our boots by traipsing over to Slegg's to buy a 3/4" elbow and 150' of sill plate gasket which we had omitted from the order. Since the sun came out, we ate our lunch sitting on the slab and then the fun began. While Laura started setting up the table for the DeWalt chop saw, I punched a hole through the wall of the workshop so we could house our compressor inside and still reach all corners of the new house. By the time I finished sweeping and straightening the shop Laura was almost ready to bolt the saw onto the table and install the laser. We also did a little mud control and spread some wood chips in strategic locations. Finally we put some finishing touches on our "chart (plans) table" and moved our work table back onto the clean slab so we could use it to cut plywood. I changed the blades on the two skill saws; one for dirty lumber and one for clean. Then we discussed jigs and workflow for a while before cleaning the site and calling it a day. |
||
 first lumber order |
February 18th - 21st |
 new, matching, safety runners! |
|
|
|
|||
|
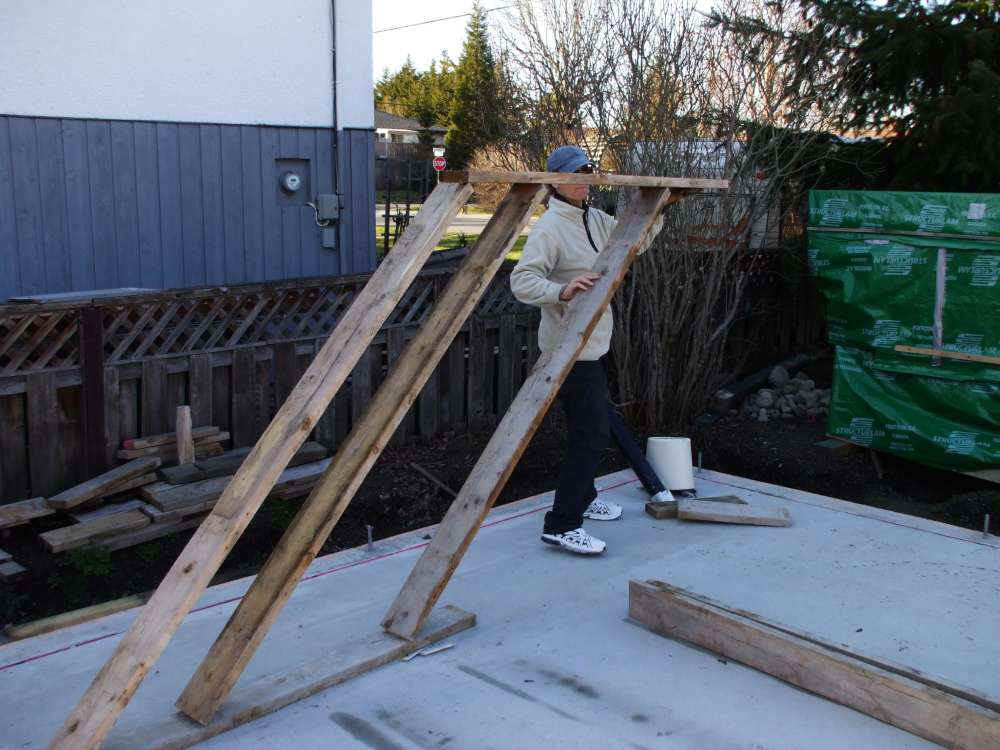
Then we decided it would be a good idea to build a mock up of a wall. Since I have little experience with a nail gun I thought it best to practice, so we built a small wall section out of the scrap from last summer's concrete forms. After we had it standing with a brace in place I thought it a good idea to remind ourselves of the importance of lateral support by giving a little demonstration. We pulled the brace off and were able to easily collapse the wall sideways. Laura thought this so cool that she insisted we rebuild the wall a second time and collapse it again for the camera. |
 |
 |
|
 |
 |
 |
 |
|
|
|||
 1st cut |
 measuring for anchor bolts thru plate |
 working the brace and bit |
 laying the 1st P2000 strip and plate |
|
|
|||
 cleaning anchor bolts |
 squaring first section |
 the first section is standing! |
 Montana next door saying Hi |
|
|
|||
|
|
|
|
|
 |
 |
When we stood up our second 200lb wall and teetered it into place the Egyptian way, we looked up and found the top was not connecting. The two plates had a 1-1/2" gap. Did we measure wrong? Cut too short? Triple checking we found our error. The last wall was not square. We removed the brace and attached the two walls together temporarily with a 1x8 plate. The 3-4-5 rule showed us that the wall was now square and true. Laura was keen to get one more section up. So moving to the north wall we were able to complete a small section before calling it a day. | |
|
|
|||
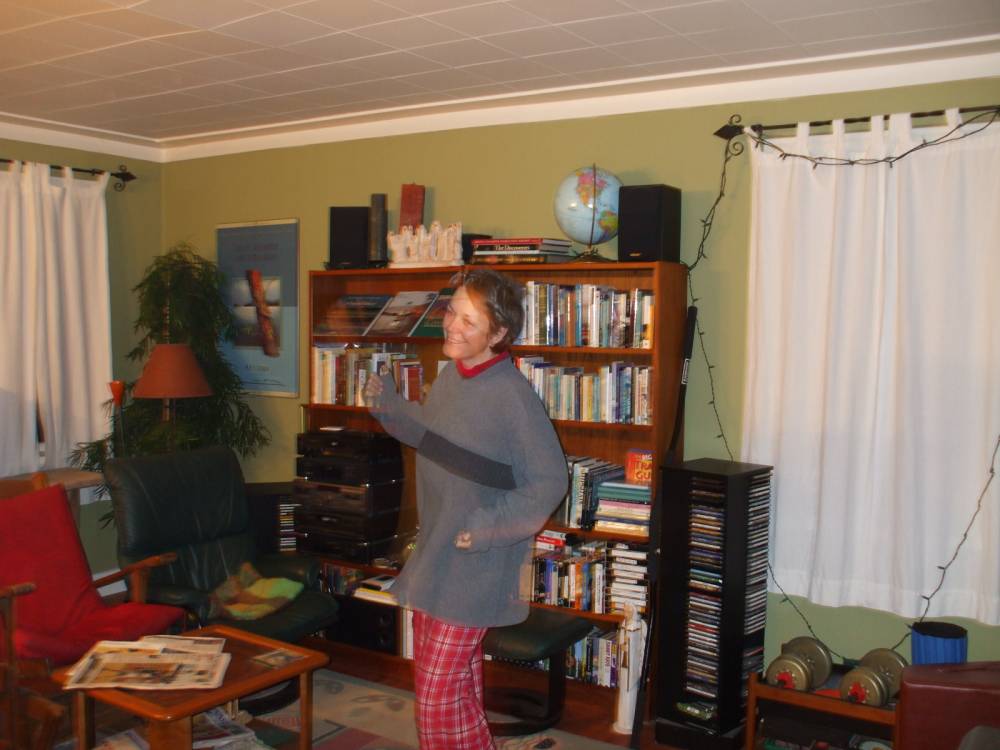
 showing Mom the plans |
 demonstrating reflective P2000 |
 lunch in the inglenook |
We had it all ready to raise when Laura's Mom arrived in a taxi for a visit. She watched as we positioned this section and then we had lunch in the inglenook for the first time. |
 trying out the platform |
 up 9', have to get over fear of heights |
After lunch we proceeded to build a staging platform and a strong ladder to allow us access to the top of the wall. Then we sorted the lumber pile some more to facilitate careful cuts and minimize scrap. |
|
|
|
|||
 assembly of fireplace section |
Finally we installed a small section to take us to the next shear wall. We were able to avoid toe nailing the lintels by staggering them, one inside and two outside. It's amazing how well the wall sections are coming together and we have developed a nice routine. While Laura cuts all the sticks on her chop saw, I prepare everything for final assembly, mark stud positions, and drill all holes for hold downs and wiring. Before we know it here we are assembling another section. |  now the second window is done |
|
| It's really a lot of fun. We continue to work at a steady but unhurried pace, taking time to wave to the geese as they fly by and to stretch our backs while gazing up a the clear blue sky of the afternoon. We have such a great sense of accomplishment as our many months of planning and designing are finally taking on real form. It is incredible how well our plans are serving us. Having spent so much time drawing them ourselves we are able to easily modify and adjust things as we need to. Today we decided to add a couple of inches to the length of the inglenook benches so Laura can lie with her head on my lap so I can stroke her hair while we watch our favourite movies! One couldn't make those kind of adjustments with a construction crew standing around waiting! |
|
||
|
We started on the shear wall that is the division between the inglenook and the front entry. It was much more complex than I had thought it would be as we had to calculate the layout of the panels of plywood to attach (which give it the lateral support strength). We got it 95% finished before calling it a day as it was getting quite nippy after the sun dipped lower and lower - we were getting chilled. It will be a good start to tomorrow to get that up and then move on to the front door section! At the end of the day we now realize that the planes flying overhead, the lawnmower across the road, and the power washer two doors down make just as much, if not more, noise than us. |
|||
| February 25th... I'm still eating my breakfast and My Love is already out on the site setting up. She has been at it since 7:30. Every day she is more keen than the day before. The walls are going up and with every expert cut on her miter saw... click here for rest of this story |
|||
| ... 29th... this has been an exciting week. One section after another is going up... checking and rechecking plans, details and measures before and while we're doing it... squaring each section as we assemble and then checking it again once it is up and against the last section... and bracing it... to prepare for the next section - so much detail! We enjoy the whole process of setting up the site in the morning... as much as cleaning it up at the end of the day... as much as working on it during the day. We are moving through this whole process at such a comfortable pace... enjoying every moment. We came to the realization that you only get to do something for the very first time once... so why rush through it? - enjoy it! Although... I am keen to see it all coming together as it is!! |
|||
 shear wall into place |
 perfect line up |
 checking top plate, as the sun sets |
 precision cutting |
 ecstatic about the front door! |
 securing door lintel into place |
 enjoying neighbours |
|
 marking plates for studs and anchors |
 bringing lumber on site |
 emptying the driveway |
 completion of north wall! |
 first section of the east wall! |
 keener first thing in the morn! |
What a great month this has been! From reviewing our plans, ordering the lumber, cutting the first stud, standing the first section... it has all been so exciting and we are still so keen and having such a fun time together! We are learning so much, working so well together, and getting fitter each and every day! How fortunate are we?!!! | |
| Go back to last page... | |||
Return to building "The Biggest Little House in Sidney" |
© 2012 Copyright |
||


Contact us at info@kandf.ca, 2177 Malaview Ave., Sidney, B.C., V8L 2E6, 250-656-8646