|
|
||
|
|
||
It's April 2008  And we would be lost by now if it were not for our framing plan. Yes it took a long time to draw it up but it has given us the confidence to pick up our tools each day and proceed. And we would be lost by now if it were not for our framing plan. Yes it took a long time to draw it up but it has given us the confidence to pick up our tools each day and proceed.
We drew it in a spreadsheet and you can download a copy and see how its done by clicking on the link at left. Enjoy! |
||

|
Click on (most) images for a larger view. |
|||
On the first day of April we dawned our mud boots once again to rescue some plants from the Tyrannosaurus Rex that was about to crush them into oblivion (two houses across the road to be demolished). We could hear them sing with joy as we saved their little stems from assured destruction. Now they will have a new life in our inglenook garden. Along the way we also were able to salvage some thin cedar stripping that with a little time on the saw can be re-incarnated into a new life. |
 |
 |
|
 |
 |
|
|
 2nd coat of stain... |
 installing end blocking... |
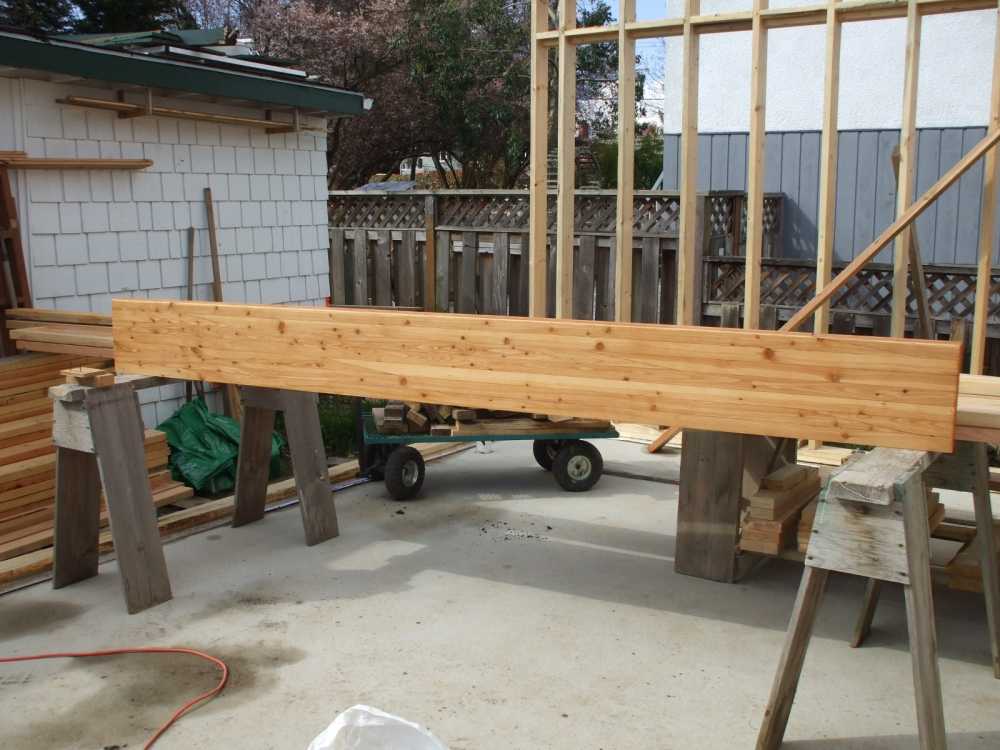
 the kitchen glulam lintel is in place! |
 another leveraging trick |
 |
 |
Completing the top plates ... it's hard to describe the overwhelming feeling we both had when we finished installing the #2 top plates! After standing up all the framing sections we so carefully assembled on the slab, we had walls alright but somehow it was all sort of tentative, stitched together. Now it was as if the whole house transformed and became one. It felt true and solid for the first time. | |
|
|
April 9 - After three days off the site we threw ourselves back into the project today. But before we set up the tools we went to claim our latest prize. A few blocks away, Laura had discovered that someone was giving away glass blocks. So off we went and within a couple of hours we had received 70 glass blocks for the upstairs bathroom! |
|
|
 first joist header |
 marking joist positions |
 first joist goes up |
|
|
The day was not complete until we pulled some nails though. All that squaring and moving about of the joists we had placed so far took one joist, that was meant to connect with a shear wall on the first floor, 3/8" away form the plywood. The only proper remedy was to remove the nails and move the location of this joist. |
|
||
|
You can look at the details of our framing plan by downloading it here. We drew all our plans ourselves and found this process very helpful since it prepared us for each job. | April 10 - First thing this morning we started cutting joists to length and discovered that we had some that were too cupped to serve as floor joists. Fortunately we had a place to utilize them in a " joist sandwich" destined to support the upstairs shear wall where only one needs to be true for the floor.
We later agreed that using engineered joists is much simpler and makes for a better product... Next time. |
|
|
|
|||
 |
 |
Team work - raising the joists... it's really neat when we find ourselves getting into a good working groove together. For part of the time we are working separately and then when we are ready to do something together, we discuss our strategy and then talk it through as we are doing it - it works really well! Up go those joists! | |
| After that it took no time at all to fit the last three joists on the west side and we even had time to cut six more to length before it got dark. It was a long day but we still found time to whip up a home made spread for dinner. We eat our big meal at lunch, today it was potato soup and a tomato cheese and avocado sandwich, so our evening meal is light but we still enjoy making all our own stuff from scratch. |  |
 |
|
 the view from the second floor |
 making headway with floor joists |
 installation of 3 member beam |
 measuring the 2 x 10s |
 taking shape... |
 measuring for level floor |
 first hanger in place off the beam |
 2 screws to hold it in place |
 hangers in place for joists |
 pretty happy with the progress |
 nice blue sky day to work under |
 getting there... |
 |
 |
We were going to glue the joists into the hangers but after the first one we realized that this was un-necessary as the plywood sub floor once glued and screwed in to place would perform the task of locking the joists to the beam. So then before we knew it we had them all nailed into place! |
|
 |
 |
 |
April 18th - The T&G plywood arrived first thing as we were finishing the prep work for the platform table to put it on. We also took safety precautions for the ladder and work surface on the second floor. Have to get used the height - seems pretty high up there! |
|
|
|
|
|
 |
 |
We almost got all the sheets set out before the hail storm hit! They changed the weather forecast in the morning... and knew it was coming when all of a sudden we couldn't see Mt. Tuam on Saltspring Isl. We hustled to get a tarp up, otherwise the joists and plywood would be soaked and we would have to wait for them to dry before we could apply the glue and lay the floor. We got this used 38x25 tarp for free as the people we moving and had no further use for it. | |
 |
 |
 |
 |
| more hail in April! | confirming 16" centers... | measure twice... | center panels on joist... |
 |
 |
 |
 |
| mark for screws... | check out this trick | cutting to fit | trying out the screw gun |
 |
 |
 |
 |
| cleaning off excess glue | applying more glue | wind picks up, watch that tarp! | we still like the torx heads |
| It will take just one more day and the sub floor will be finished! The downstairs is closed in which gives the rooms dimension and thus a whole different feel. And now the upstairs is just waiting to be built! BUT...we can't build up any more because the hydro line is in the way and has to come down. So the next thing is to put in the service entrance! We'll review our electrical plans once again before we apply for our permit. How exciting! |
|||
| Go back to last month... | |||
| How the "Construction Angel" came to be: We often talk about putting the angels in charge or asking the angels for help, etc... kind of like the angel earning his wings in Miracle on 42nd street, he had to be asked to help, he couldn't just jump in and help. So when we imagined what the angels looked like that would help us on the construction site we pictured cute little cherub like angels with tiny tool belts, tiny tape measures, and tiny work boots. Well... Thomas found a image we had on a cute angel and set out to outfit her up with found images of construction gear... what a great job he did! and he had great fun doing it! And she and her gang have been most helpful already in many ways! | |||
Return to building "The Biggest Little House in Sidney" |
© 2012 Copyright |
||


Contact us at info@kandf.ca, 2177 Malaview Ave., Sidney, B.C., V8L 2E6, 250-656-8646