|
|
||
|
|
||
|
It's November and we are off...
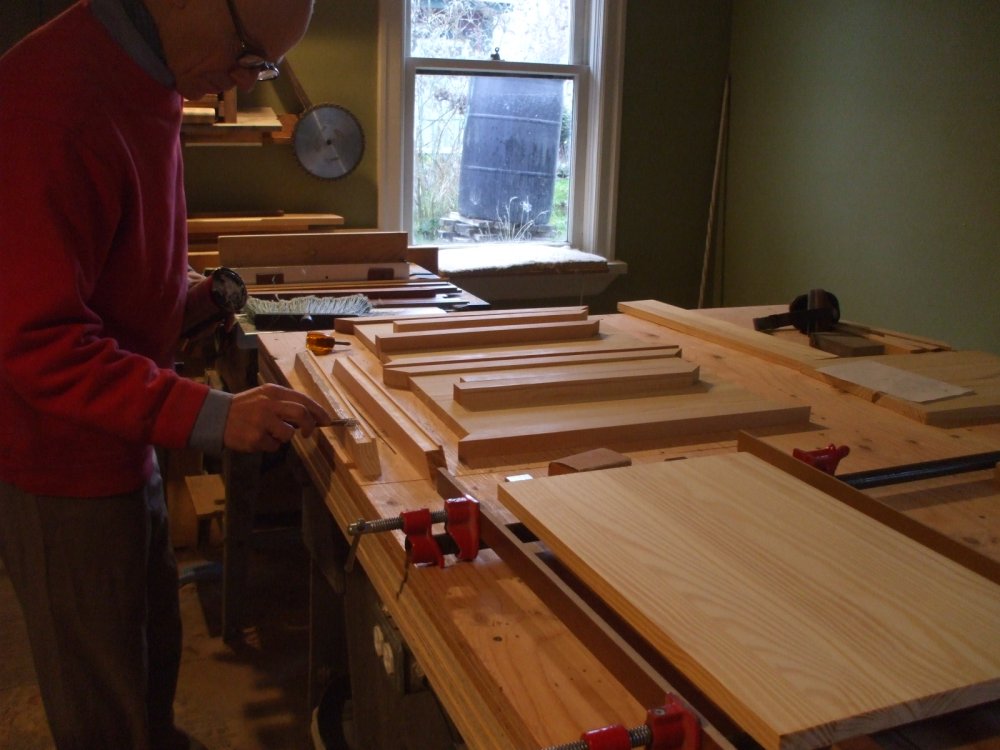
...building cabinets!! We decided to use the upstairs vanity as our 'prototype'. The first of anything requires a lot of templates, jigs and mock-ups, so it is much slower going. But it sets the pattern for the rest, so it's a final opportunity to fine tune the design!
|
||

|
Click on (most) images for a larger view. |
|||
|
MATERIALS:
Cabinet backs: 1/2 paperface plywood, painted white on exposed side |
|||
 |
 |
 |
 |
| poor man's dado set; 4 old saw blades laminated on the table saw | mockup to confirm the joint designs | poor man's 'table' saw works to a precision of 1/32" | squaring the fence |
 |
 |
 |
 |
| kitchen is getting cleared out | everything must be cleaned | cabinet panels cut to size | jig to mark and pre-drill screw holes |
 |
 |
 |
 |
| table mounted jig keep things square | our magic glue at work again | drywall screws have a nice thin shank are great for clamping |
using knife and wet paper towel to clean off excess glue |
 |
 |
 |
 |
| finished product ready for staining | glue needs to set for 24-48 hrs | three cheap guns with bits and drivers at the ready | dado cut at end panel on 2nd cabinet |
 |
 |
 |
 |
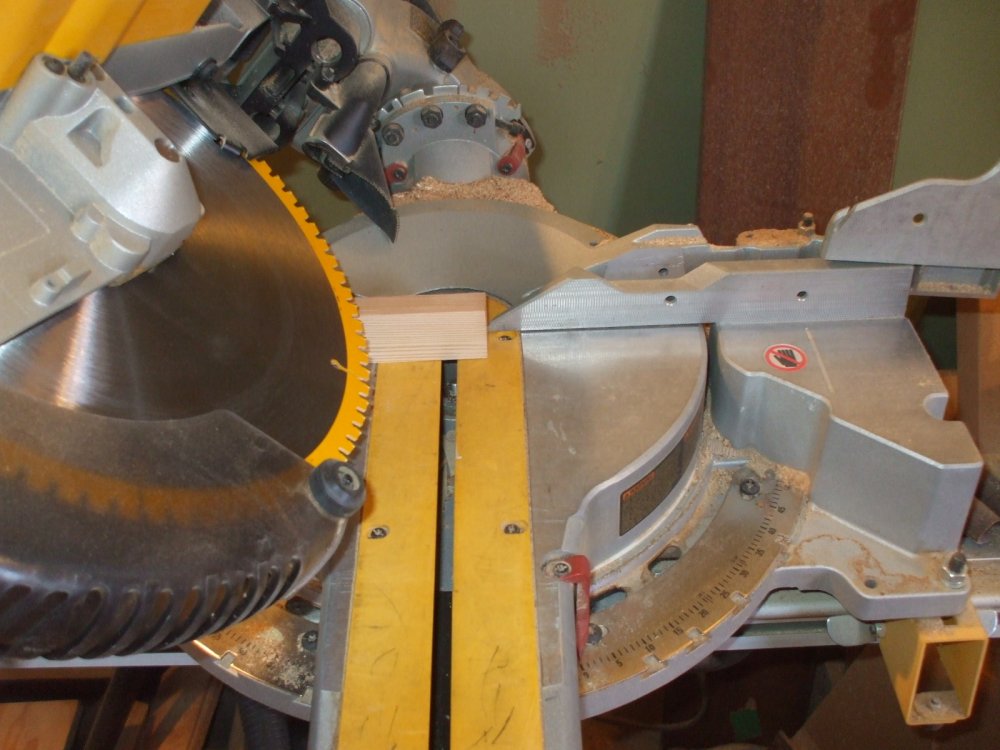
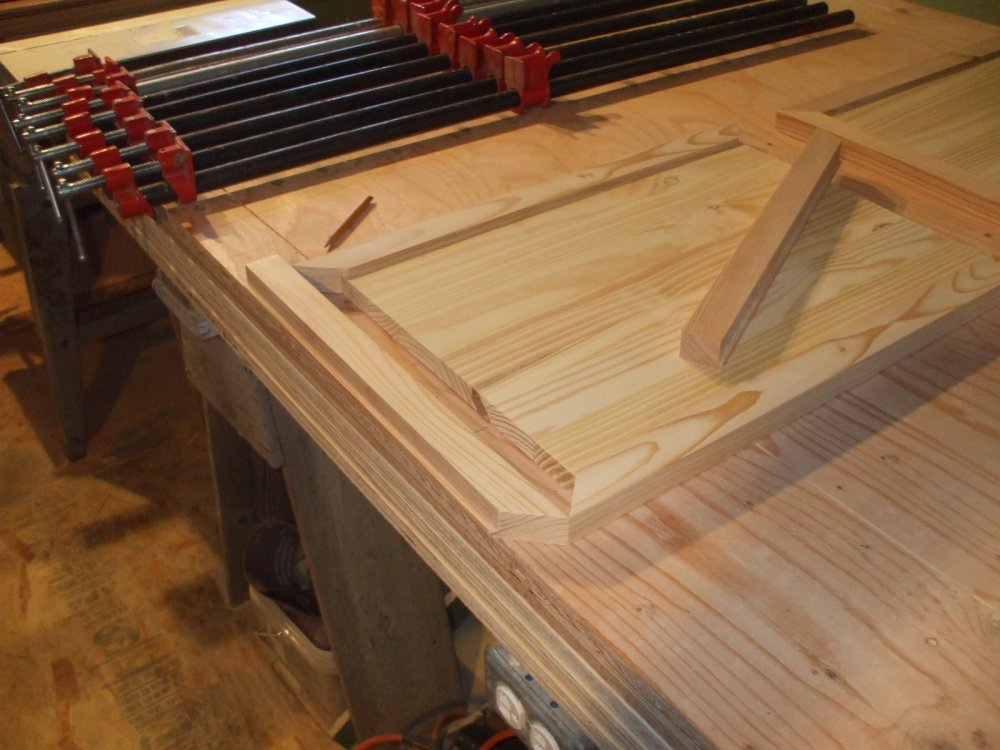
| starting the mockup for the doors | douglas fir framing sticks for trim | day off for pruning and chipping | mill the post components |
 |
 |
 |
 |
| mark for nail positions | post will butt-joint against smooth inside cabinet joint | assemble "T" to accommodate drawer and overlapping joint | clean glue joints with blade |
 |
 |
 |
While we wait for the glue to harden solid, we divert our attention to the shower stall plumbing install and prepping the bedroom floor for carpet installation. |
 |
 |
 |
 |
| final cleaning to get ready! | laying the 10lbweight underlay... | rolling it out!... | expertly trimming... |
 |
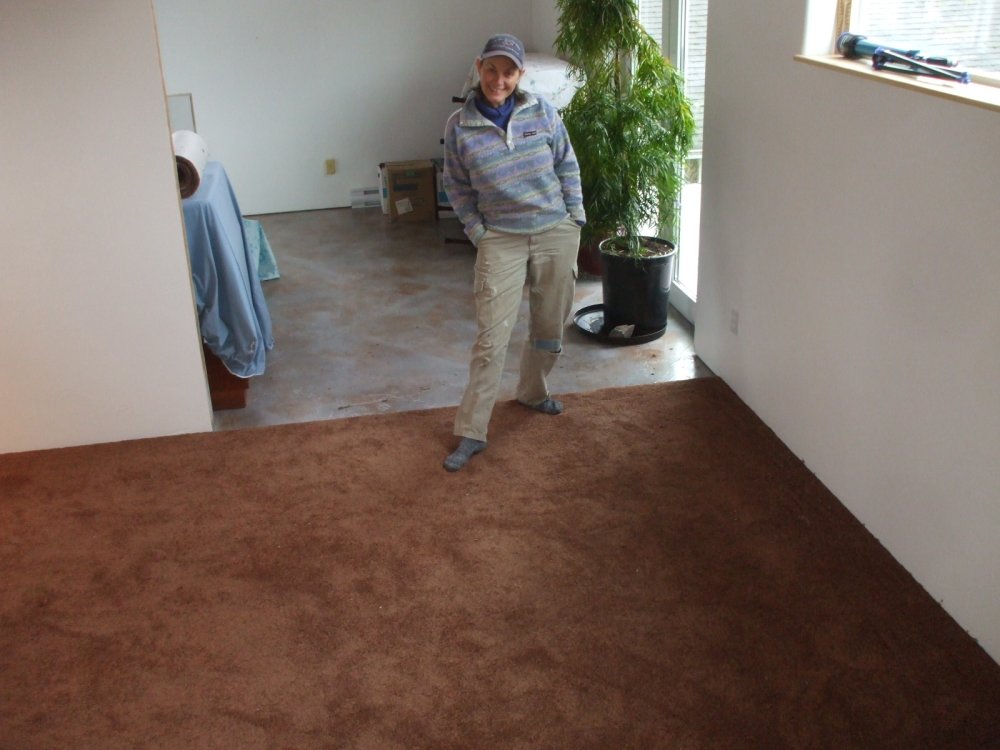 |
What a skookum tool! - a "knee kicker" to pull and stretch the carpet to the wall. Of course one has to be precise in the cutting knowing how much stretch there is going to be so just the right amount gets crimped down in to the trim or up against the wall. CARPET CHOICE: Filament PET carpet made from 25% recycled plastic bottles!! Beautiful look and feel - on the feet and environment! |
|
|
|
|||
|
Back to the cabinet; the "T" is cured and solid, so we glue the top bar at both ends, clamp and secure with a single finish nail to stop from slipping. Again we allow the glue to fully set for 48 hrs. before securing the bottom. |
 |
 |
 |
| clamp at the ready | ends are glued | clamped | |
 |
 |
 |
 |
| and centered to insure vertical | excess glue scraped off | and wiped clean. | more packing in between work |
 |
 |
 |
 |
| cabinet moves to "finishing room" for first coat of stain | milling and sanding douglas fir frame of doors | rough cutting dado | |
 |
 |
 |
 |
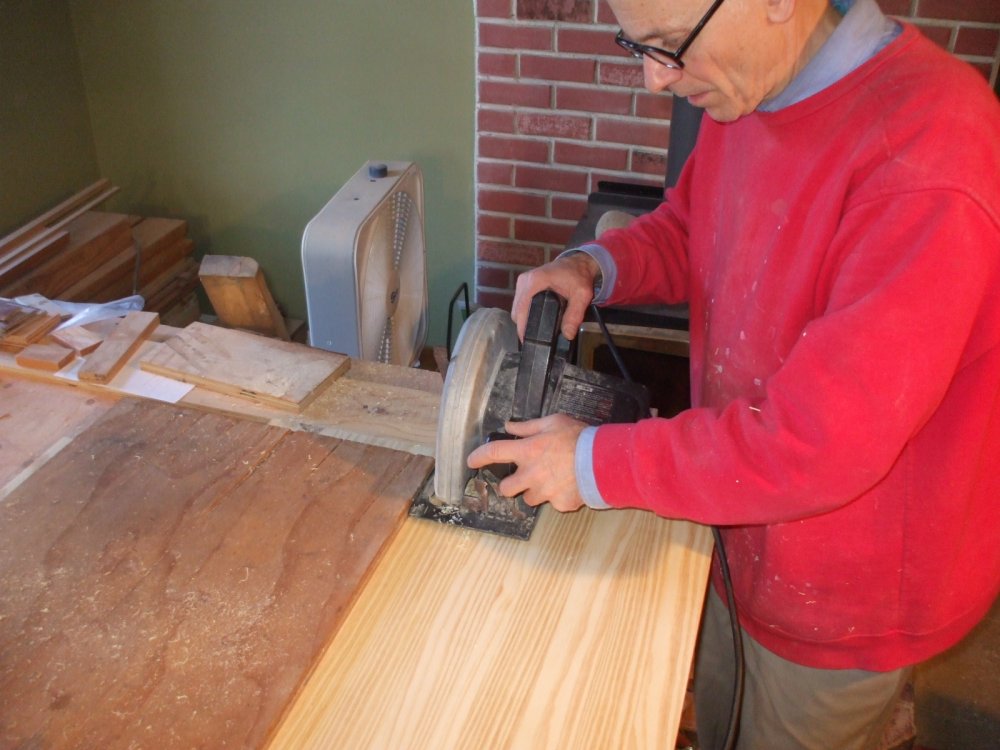
| finish cutting dato with router | trimming ends at 45 degrees | one end per stick is ready | |
 |
 |
 |
 |
| cutting door panels | using a 'poor man's table saw' | and a 'poor man's jointer' | assign location to each piece |
 |
 |
 |
 |
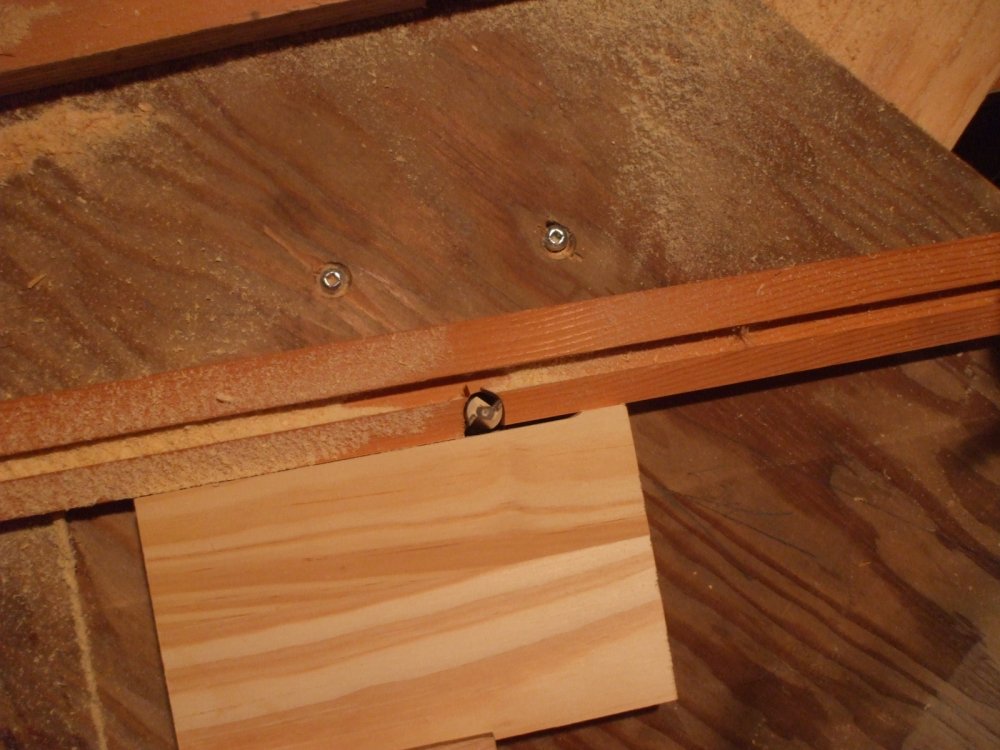
| glue and clamp long sides first | using laminate flooring scrap as shims to protect the finish | with one end angled, it is easy to measure precisely the length required to make a snug fit | |
 |
 |
 |
 |
|
After Laura finished the staining and varnishing the cabinets were ready to go upstairs. First we mounted the sliders for the drawers and cut out the hole for the plumbing. The 3/4" wall mounting/standoff strip was ready and in place with stud locations clearly marked. We prefer a mounting strip on the wall instead of on the cabinet since we use solid plywood. We clamped the cabinet frames together and installed "show" bolts while our support team looked on; West Coast Bear, Po and Junior. Gotta keep the kid alive inside all of us! |
|||
| Next we install the 1/2" plywood support strips to the top of the cabinet... the counter top will be secured to these... |
|||
 |
 |
 |
 |
| measuring for overhang | gluing and fastening with finishing nails in to the plywood sides | ||
 |
 |
 |
 |
| nice solid support for countertop | checking square for countertop | 3/4" pine plywood for top | figuring out clamping for trim... |
|
|
|||
 |
 |
 |
 |
 |
 |
 |
Stay tuned... |
| "The Biggest Little House in Sidney" | |||

|
|
|
|
|
|
|
© kandf, 2011. All rights reserved |
|